Ok, so I think just about everyone
out there has their go to baby shower gifts.
Well, for the last few years, I have
made everyone the same baby shower gift and they really seem to be a big hit.
What is it I make you ask? Fleece tie blankets.
I know some people don’t like to use
these because of a choking hazard, but I love these and they are great for
during tummy time and depending on the print of the fabric that you use, they
can be great for pictures too. In fact, one of my friends had twins last year
and I always see cute pictures of her babies on the blankets when I log into
Facebook.
I am sure there are a million
tutorials out there for this project, but since I have been making these for
years, I won’t be searching for any tutorials to link here. Feel free to leave
a comment if you know of a really great link to a project like this so that
other people can use it though!
Fleece Tie Baby
Blankets
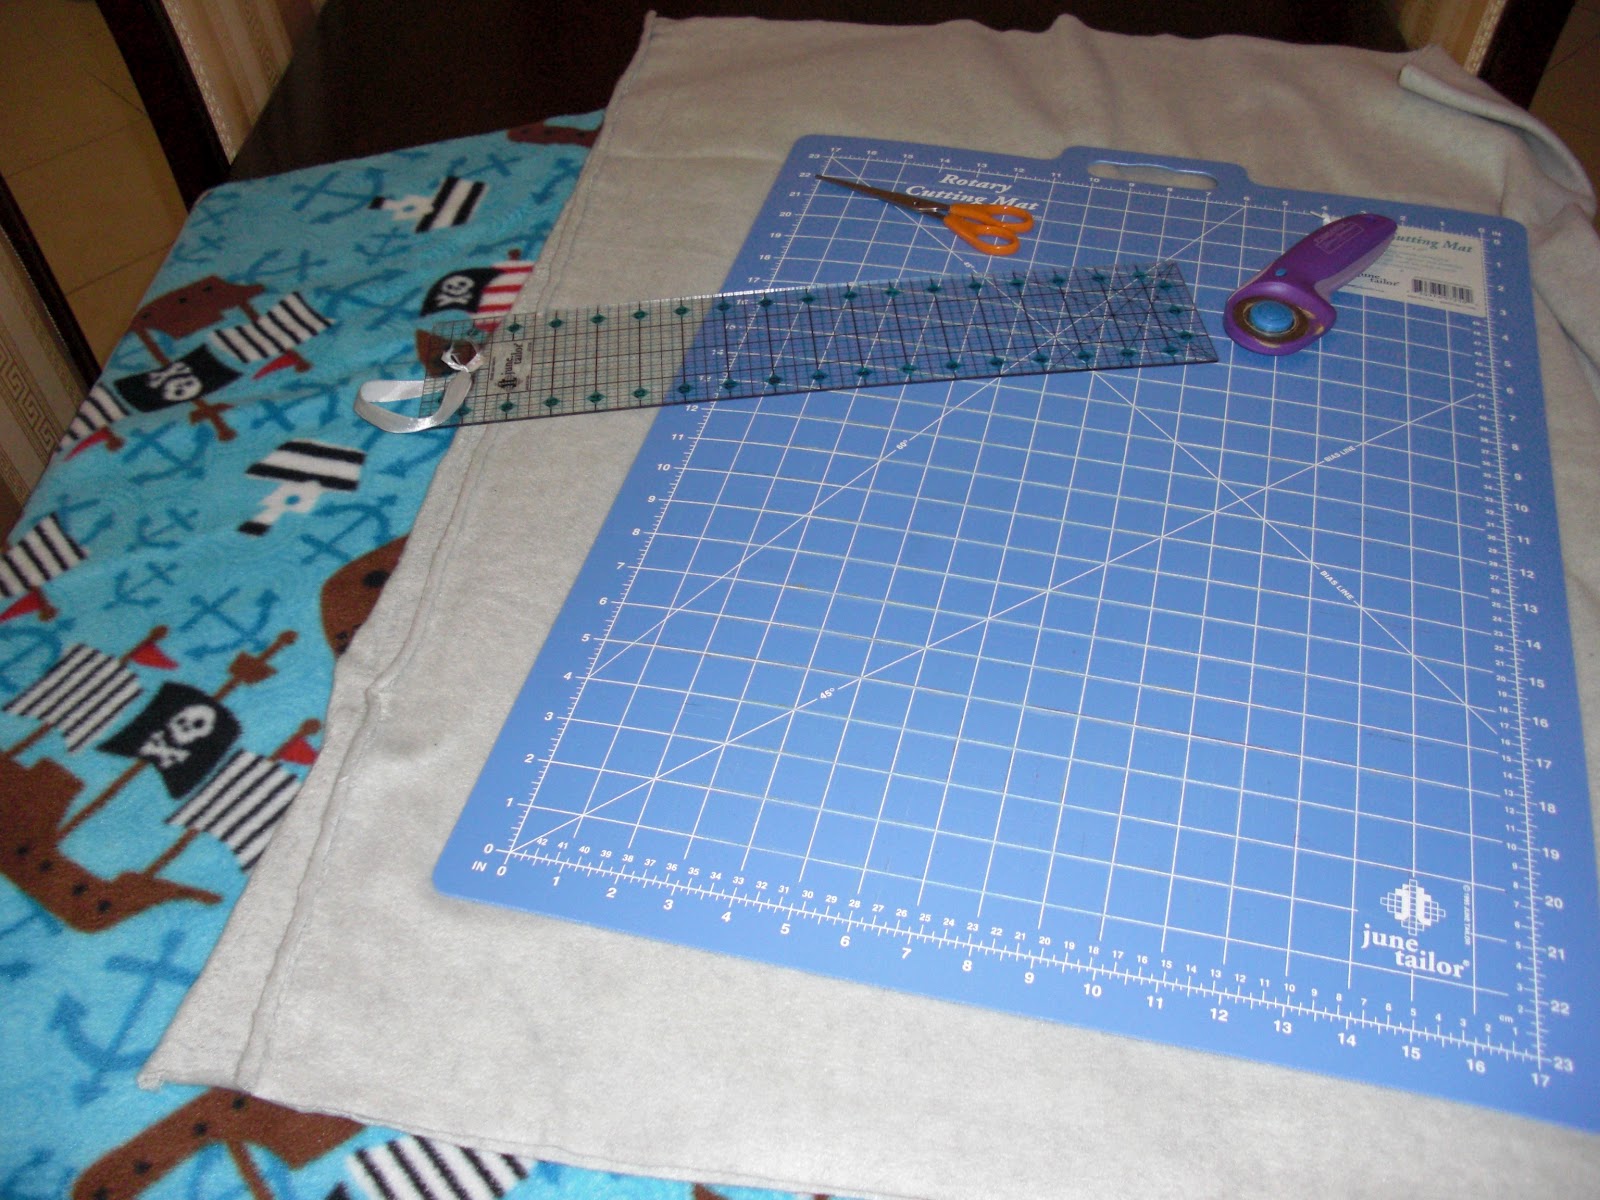
Materials needed:
*1 yard of fleece material in any
print, cut in half
*1 yard of fleece material in solid color, cut in half
*Rotary Cutter
*Quilting Ruler
*Quilting Cutting Mat
*Scissors
*1 yard of fleece material in solid color, cut in half
*Rotary Cutter
*Quilting Ruler
*Quilting Cutting Mat
*Scissors
Note: You do not have to use a rotary
cutter, quilting ruler, and cutting mat if you do not have one. I have a bit of
OCD and a perfectionist personality so I like all of my strips to even. If you
are not like me in this sense, you are more than welcome to use your scissors
and just eyeball your cuts in the fabric.
Instructions:
1. Make sure that your two materials
are the same size. You do not want one fabric being longer on one side and
shorter on the other because it will make your blanket look really funny!
(Believe me, I have been there before without realizing it.)
2. Once you have lined up your fabric
and made sure that both pieces are the same size, you will need to cut the
corners out of the fabric. I cut a 3 inch by 3 inch square out of each corner,
but you can do more or less depending on how long you want your fabric strips
and ties to be.
(I use my quilting ruler for this, but if you do not have that, find a square of paper or other fabric that is the size you are wanting to cut out of each corner and use it to cut each corner to make sure they are all the same size.)
(I use my quilting ruler for this, but if you do not have that, find a square of paper or other fabric that is the size you are wanting to cut out of each corner and use it to cut each corner to make sure they are all the same size.)
3. Now comes the fun part: cutting
all the strips. I space my strips out to be about an inch wide. The length of
the strip will be the same size as the square that you cut out. See the picture
below for reference if you are unsure about this step. In order to cut my
strips, I use my rotary cutter and the quilting ruler, but if you are using
scissors, now is where you can eyeball the strips. I have made blankets before
without the rotary cutter and mat and they have turned out just as cute!

4. Once you have cut all the strips,
it is time to tie the strips. This is a very easy step and can be done
basically however you want as long as the two strips from your two pieces of
material match up and are tied together. I always run around the edge of the
blanket and tie all of the strips. I then go back around and make sure all of
the strips are tightened. Here is a picture of a blanket that is completely
done.

Now you can go and make these with
any fabric choices you want and can give these as shower gifts.
If you want to make bigger blankets
for older youth or adults, you will just need to decide how much fabric you
will use. I have made adult blankets before with 2 yards of fabric and they
have been good sized!
We LOVE the blankets you made for the twins, and as you said we used them all the time. Currently they are in their cribs as a extra padding/protector but we normally use them as belly time mats.
ReplyDelete